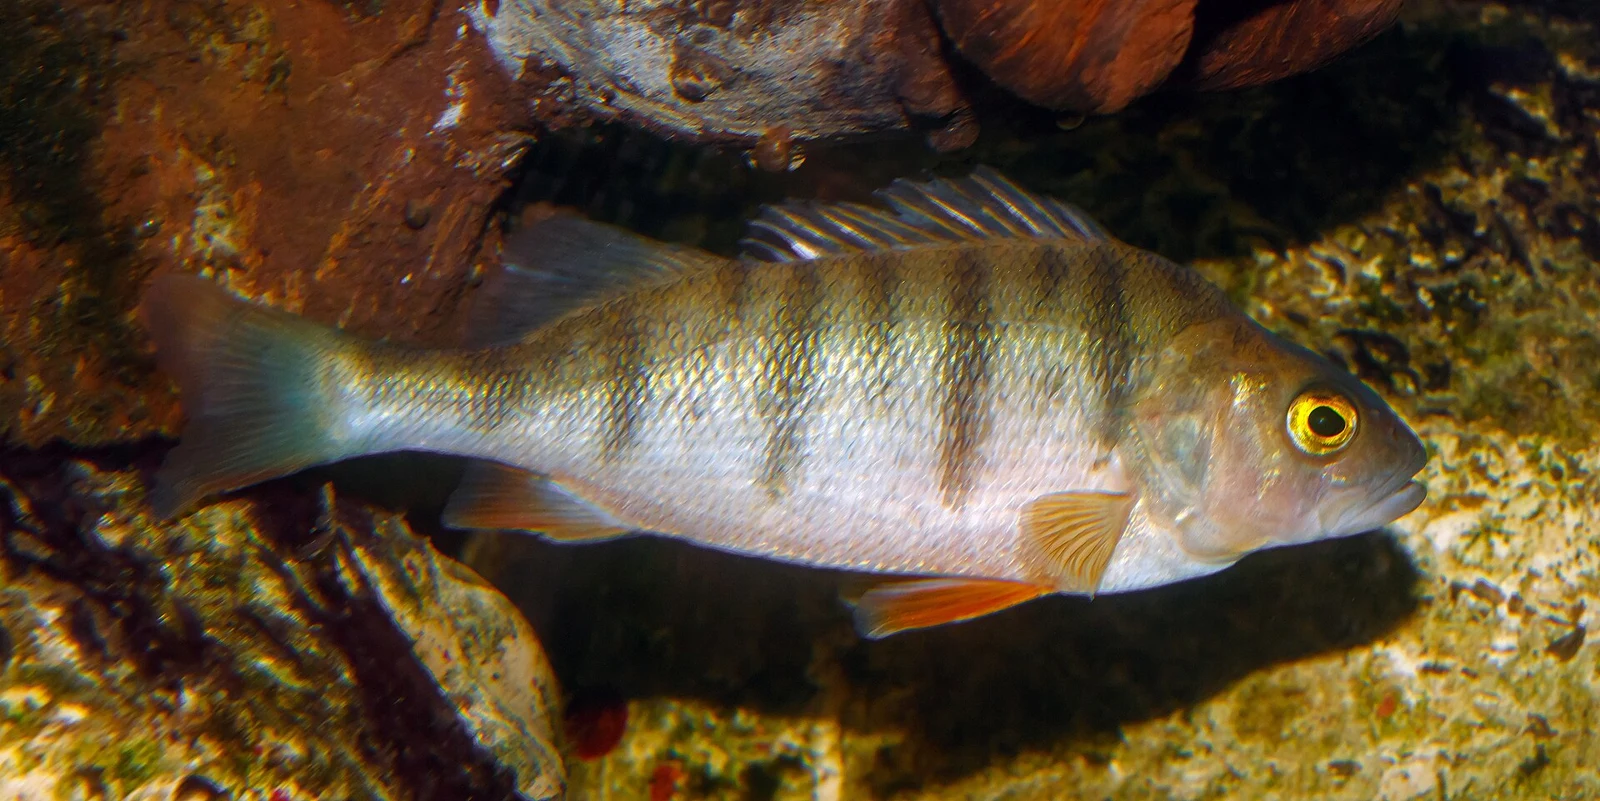
November and December can make Dutch bank fishing wonderfully focused: a short stretch of canal, a handful of lures and enough time to understand one change in depth. They can also produce long quiet spells. European perch do not follow a calendar into the nearest harbour, and a deep hole is not automatically a good winter swim. Build a plan around legal access, manageable depth and repeatable presentations, then let the first contacts shape the session.
This guide proposes a catch-and-release approach for European perch, Perca fluviatilis, in Dutch freshwater. The tackle sizes and session timings below are starting recommendations, not venue-specific prescriptions or promises of fish.
Check permission before choosing the bank
The Dutch government says a VISpas is needed for most inland waters. Check the exact water in VISplanner using your own valid permission; the map distinguishes valid access, extra permission and waters where fishing is not permitted or permission is unknown.
Under the current VISpas conditions, carry the required documents: VISpas with VISplanner or the applicable water list, or another valid permission. Local conditions also apply. Two rods are the general VISpas maximum unless stated otherwise; a third requires the relevant permission on eligible waters. This mobile approach needs one.
Night fishing requires explicit permission from the fishing-rights holder. The national night permission works only on designated waters; check its conditions rather than assuming every canal qualifies. Fishing permission does not grant access across every bank or fenced property.
These November–December methods must not become an unrestricted year-round template. During the spring bait closure, the 2026 VISpas conditions also prohibit fishing in a way that makes zander capture likely, explicitly including active drop-shot or jig fishing with worms. Check current dates and exceptions before a different-season visit.
Choose a small search area
Select three or four reachable features within a comfortable walk, with somewhere safe to land a fish at each. A bridge is useful only if you can fish it legally without crossing railings, obstructing traffic or lowering a fish down an unsuitable wall. A harbour basin may look sheltered but still be private or subject to additional restrictions.
On canals, compare an ordinary straight bank with a widening, a junction and an accessible bridge approach. On lakes, look for a shallow shelf beside a modest slope, the outside of remaining vegetation or a firm patch within softer ground. On rivers, begin with sheltered margins and gentle current boundaries rather than the strongest flow. These are search hypotheses, not claims that a particular structure always holds perch.
Prefer water where useful depth changes occur within roughly 1–5 metres. This is a practical choice for bank control and release, not a scientifically established safe-depth limit. Very deep harbour holes and gravel pits are poor default choices for a release session. If the only apparent fish are deep, choose a different swim or water.
Make depth visible without a fish finder
At a new position, first inspect the near margin; the longest cast can carry your lure beyond fish you could reach with a short pitch. Then cast a jig into a clear sector and count its fall until the line slackens. Repeat at a similar distance with the same lure and weight. The count is comparative: wind, current, line angle and the lure itself change the result, so do not convert seconds directly into metres.
Fan out with several deliberate casts, noting where bottom contact becomes earlier or later. A suddenly shorter fall might mark a shelf; resistance followed by clean movement can indicate a transition in bottom texture. Neither sensation identifies the bottom with certainty. Repeat before deciding that you have found a feature.
Test just above bottom as well as on it. A lure that never touches down tells you little about the depth you are fishing, but a lure permanently ploughing mud is equally uninformative. Aim for a controlled descent and occasional clear contact. If you cannot distinguish a pause from bottom, shorten the cast or add a little weight before changing colour.
Carry one adaptable outfit
A useful general bank outfit is a 2.1–2.4 metre spinning rod rated around 3–15 grams, matched to a 2000–2500 reel. Choose a tip that shows small changes in tension, with enough power to steer a fish away from a snag. A lighter rod can suit a tiny canal, while exposed banks may require a higher casting rating. Include the lure as well as its weight when checking the rod's limit.
Start with braid around 0.08–0.12 millimetres, using the maker's stated breaking strain and checking actual handling rather than trusting diameter alone. An abrasion leader of roughly 0.25–0.30 millimetre nylon or fluorocarbon helps around rough edges. It is not pike bite protection.
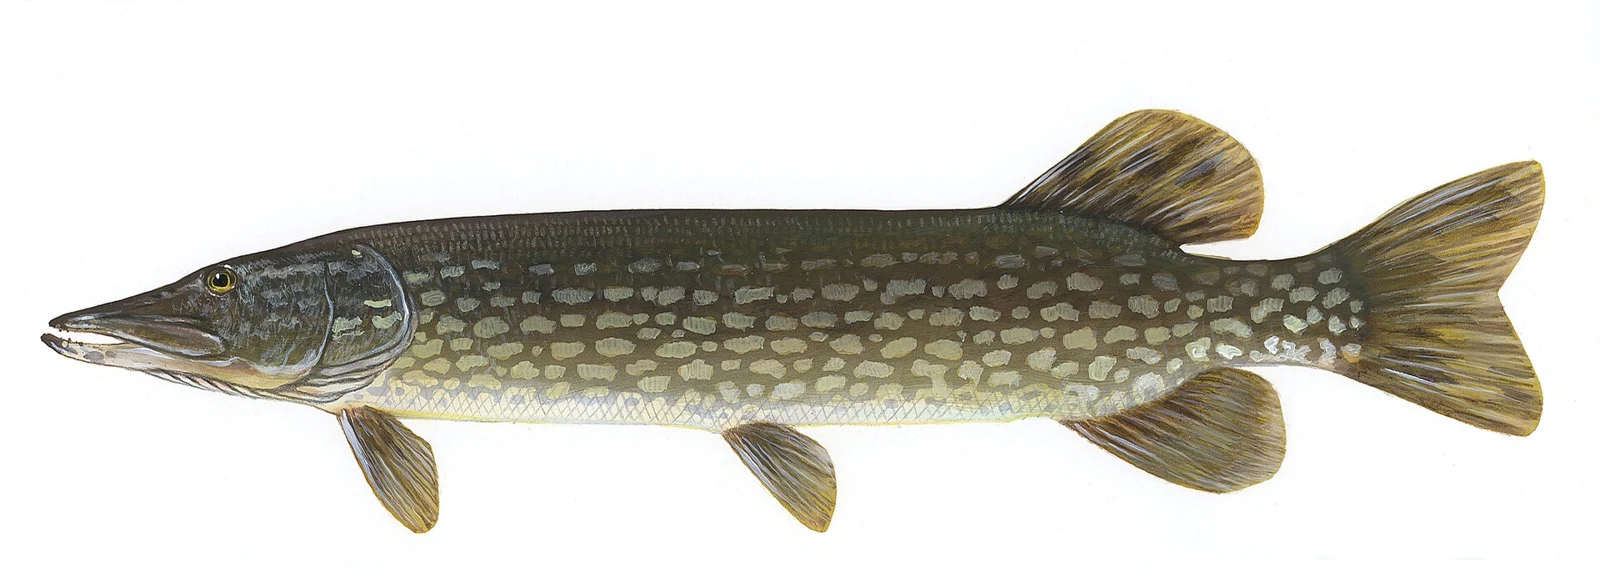
Where pike are present or reasonably expected, add a supple wire or suitable titanium bite trace, approximately 25–35 centimetres long, with small reliable connections. Around 5–9 kilograms breaking strain is a practical light-lure starting range. Inspect it after fish and snags; replace damaged wire and test every new connection. A small lure is still easily swallowed by a pike.
Pack a knotless or rubberised landing net with a handle long enough for the bank, forceps, long pliers, cutters capable of cutting the hooks you use, a small unhooking mat and a rubbish pouch. Carry only enough terminal tackle to change weight and presentation without turning each decision into a tackle search.
Use a jig to learn the swim
Begin with a straight-rigged 5–8 centimetre soft shad and a single jig hook, usually around size 2 to 1/0 depending on the bait's shape. Hook sizes vary between manufacturers. The point should clear the body without the hook occupying most of the moving tail.
Try 3–5 grams in a sheltered canal and 5–10 grams when extra depth, wind or modest current demands it. These are trial weights. Use the lightest load that still lets you understand the fall, and move to shelter if maintaining control would overload the outfit.
After touchdown, lift the lure a short distance, recover slack and let it fall under light contact. Alternate this with a slow swim above bottom. Avoid making every movement a sharp upward snap. A winter fish may only add weight or stop the lure's descent; wind into that resistance and make a firm, controlled lift rather than a violent strike.
Give a promising line several casts from slightly different angles. If the jig repeatedly wedges in the same obstruction, stop feeding it into the snag. Change the angle or use a properly matched weedless hook, checking that the soft body can compress enough to expose the point. Recover broken line whenever safely possible.
Slow down with a protected drop shot
A drop shot is useful when you have located a likely holding area and want the lure to remain there. Westin's original winter tutorial supports small soft baits and restrained movement as the water cools. Treat that seasonal pattern as an option to test: an unusually mild November can still justify a moving lure.
For pike water, use a purpose-built wire or titanium drop-shot arrangement with bite-resistant material above the hook. Follow the rig maker's connection instructions; ordinary fluorocarbon above a nose-hooked lure leaves the fish exposed to a bite-off. If you cannot build a reliable protected rig, continue with a jig and suitable trace.
Begin with a 4–7 centimetre worm or minnow lure on a single hook around size 4–1, and a 5–10 gram sinker. Set the hook approximately 30–50 centimetres above the sinker as a starting geometry. At a long casting angle the lure sits lower than that spacing suggests; short, controlled casts make adjustment easier.
Let the sinker settle, take up loose line and introduce tiny movements without dragging the weight continuously. Pause, then shift it a small distance and repeat. Try pauses of five seconds, then longer if necessary, while maintaining enough contact to notice a change. Do not mistake shaking the rod harder for keeping the lure in place. Lift into a positive bite promptly rather than allowing a fish to hold the bait indefinitely.
Keep one moving option
Carry a small crankbait of about 4–6 centimetres for shallow, unobstructed water. Match its diving range to the swim so it can work above bottom without continually hooking debris. Use a bite trace where pike are possible, and check beside the bank that the trace has not spoiled the lure's action.
Retrieve steadily, interrupting the movement with short pauses. Watch whether the lure floats, suspends or sinks; that determines whether a pause clears an obstacle or drops the hooks into it. A following fish suggests a useful location, but it does not prove that a colour change will catch it. Rest the spot and try the soft lure from another angle.
Let evidence determine the next move
For a first visit, spend roughly ten minutes learning an ordinary swim and longer on one where you have a bite, follow or repeatable feature. Before leaving, change one meaningful variable: cast angle, running depth or pace. Cycling through six colours at the same unproductive depth is rarely an efficient search.
When you catch a perch, note the casting line and where in the retrieve it took. Make the next cast while that information is fresh, then explore the neighbouring water. Avoid crowding another angler or repeatedly working a small concentration simply because the fish remain catchable.
A simple log needs only water, time, weather, approximate depth, lure weight and the position of contacts. Blank sessions belong in it too. Over several visits, this gives you a local pattern without pretending that one successful afternoon establishes a national winter rule.
Release well and leave safely
Perch have a closed swim bladder and can suffer pressure-related injury when brought up from depth. Research on pressure changes supports taking that risk seriously, but does not give this guide a universal safe angling depth. Choosing shallower fisheries is more dependable than assuming a slow retrieve prevents barotrauma. Do not experiment with puncturing a fish to release gas.
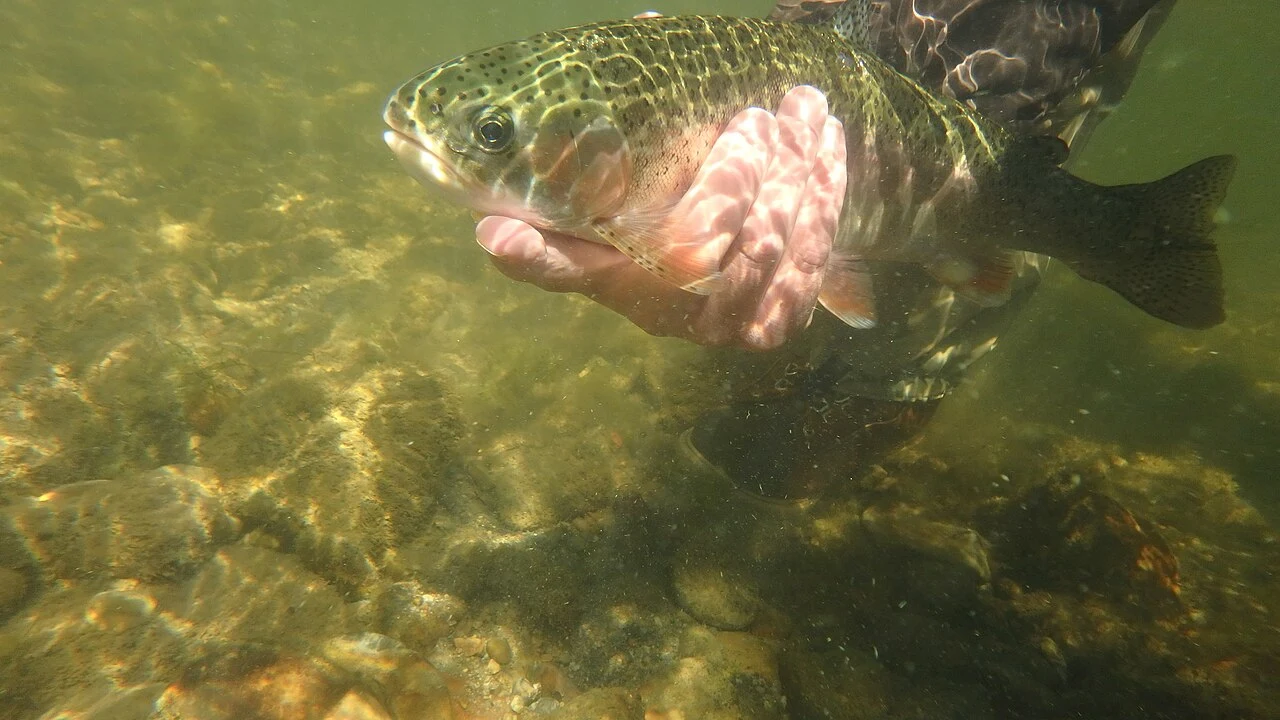
Have the net and tools ready before casting. Wet your hands, support the fish's body, keep it off dry paving and minimise time out of water. Unhook in the net when practical. If a hook cannot be removed cleanly, use the appropriate cutters rather than prolonging forceful extraction. Return the fish gently to the same water; skip the photograph when handling is difficult.
Check weather and water levels before leaving. Wear grippy footwear and suitable flotation on steep or exposed banks. Barges can draw water away from a bank before their wash arrives: stand back, retrieve your line early and keep a clear retreat. Avoid icy stones, flooded groynes and casting across navigation routes. End with enough daylight to walk out safely. A short, controlled winter session is a complete outing even when the perch do not cooperate.